
This guide will help you replace a bathroom faucet. First, follow the steps in this article to complete the job. Once you have done so, you can proceed to install a new faucet. If you don’t feel confident, you can follow this guide. It will save you a lot of money and time.
Replacing a bathroom faucet
Before replacing your bathroom faucet, ensure you have a clear picture of how to repair it. First, remove the old faucet. Next, locate the faucet’s drain pipe and connect it to the drain. Make sure you place the end of the pipe towards the wall and tighten the nut to prevent it from moving. Next, remove the old faucet and replace it with the new one. Finally, attach the new faucet to the pipe by following manufacturer instructions.
This is an easy way to get started with faucet replacement Lynnwood if you haven’t done it before. All you have to do is follow the installation instructions with your new faucet. You can also watch a video of someone who has already replaced their faucet and see how they did it. The video will give you the confidence to tackle the job yourself. The installation is a simple task, but first-timers can get confused due to the small space and lack of visibility underneath the sink.
After completing the plumbing part, you can connect the water lines. Some faucets have a specialized tool that you need to use. If you do not have one, you can buy one online. Next, connect the hoses to the new faucet. Remember to use new hoses for this. Don’t use the old ones; they may leak or aren’t compatible with the new ones. Once you’ve completed the installation, you can use a leak test to ensure it’s working.
Replacing a reversed faucet
Reversing a faucet is a simple task. But some faucets can be complicated to repair, so you should seek professional help.
First, you should turn off the main water supply. This is typically near the water meter. Next, unscrew the center screw holding the handle. The index cap may be affixed on the handle and needs to be removed with a flat-head screwdriver or an old bread knife. Make sure to remove the old cartridge and install a new one. Replace the handle if necessary.
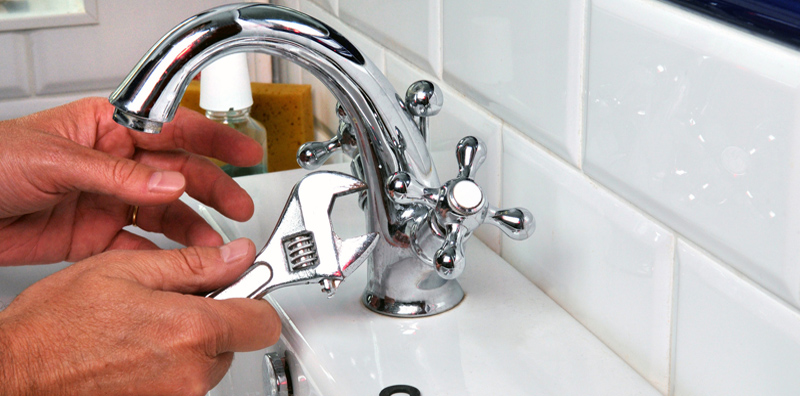
Secondly, take out the plastic cap that covers the screws. Then, use a flat screwdriver to turn the screws counterclockwise. If the handle has an angled shape, you might need a hex key or 1/8-inch Allen wrench to loosen the screws on the side. Finally, if your faucet has a bonnet nut that needs to be removed, you can use an adjustable wrench to remove it.
Suppose you find that the water returning damages the ceramic disk faucet; replace it as soon as possible. It is important to remember that the ceramic disk faucet is a complicated piece with several different parts. You can always buy a replacement kit if you are not confident in your plumbing skills. The replacement kit contains all the necessary details, including the valve stem. Start by removing the small index cover with a pocket knife. Next, loosen the hex-key wrench that attaches the handle to the branch.
Replacing an aerator
If you are having trouble rinsing the water in your faucet, you may need to replace the aerator. Aerators come in several parts, including the housing, rubber washer, screen, and mixer. To remove the aerator, first, open the faucet to relieve pressure. Then, clean the aerator with vinegar. After cleaning it, you can screw it back on the tap.
Paper towels, a small channel lock wrench, and gloves are essential items. The best aerators are the ones that fit 95 percent of faucets. Use a brand that includes the faucet’s spout. Also, aerators can get dirty and have sharp edges.
Aerators collect minerals and water from the faucet, which can clog them. When this happens, the water flow will be reduced, or the stream will become disrupted. Many mistakes a clogged aerator for a problem with the faucet or water pipe, but this is not the case. You can clear out a clogged aerator by unscrewing it with pliers. You can also apply vinegar to restore its flow.
Changing an aerator is a simple process that can save you time and money. It is an easy project for DIYers if you don’t have a plumbing background. It doesn’t take many tools, and it’s easy to do on your own without the assistance of a professional. Some aerators are held in place by a mason jar lid, which can be removed by hand. Try a jar opener or a pair of wide pliers if this doesn’t work.